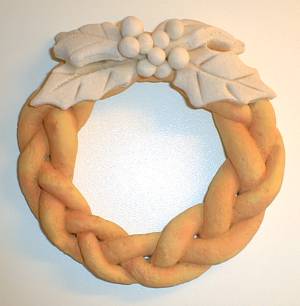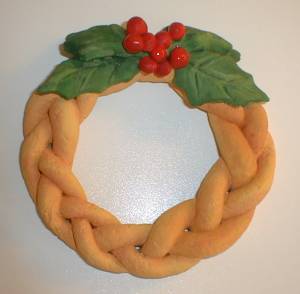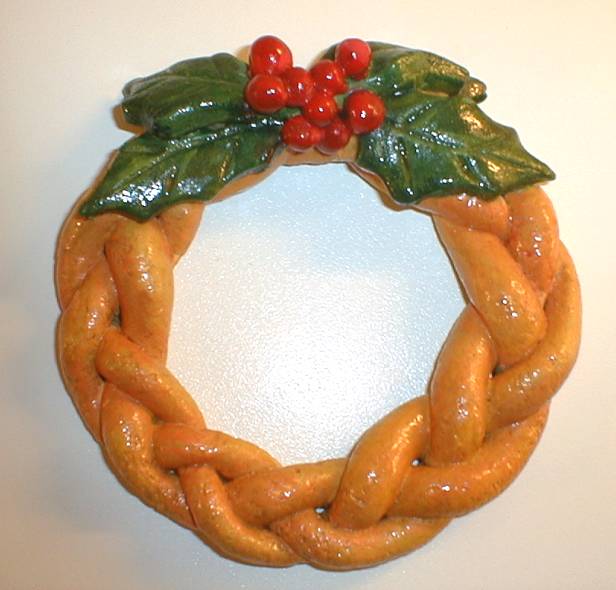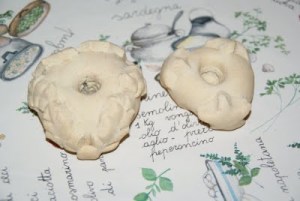
We used a simple, flattened, ball shape, making a hole for the candle and then decorated with cut outs using cookie and icing cutters.
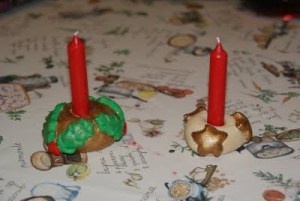
And painted them
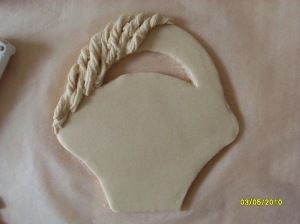
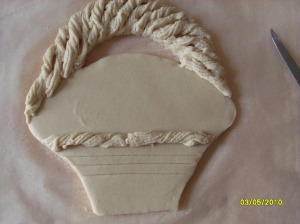
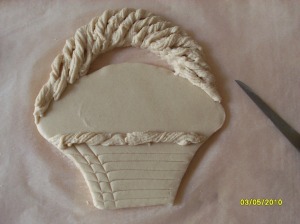
Next you will use either a pizza wheel or butter knife to cut strips of dough about 1/2” wide. (If you are using a larger dish for forming your basket, you can make the strips a little wider.)
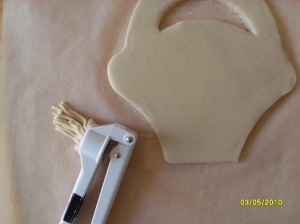
Line your oven proof dish with aluminum foil then begin to basket weave the strips using the dish as a “mold” for the shape. Once you have that done, put a strip all around the edge of the dish, pinching the dough together to look like a pie crust edge.
When the baking is done and the basket has cooled, remove it from the bowl. You can now use the acrylic paint to dress it up. Once the paint is dry, be sure to varnish it to make it last.


Materials required
- Tracing Paper
- Pencil
- Salt dough
- Roller
- Rolling Pin
- Craft knife
- Acrylic or fabric paint
- Paintbrushes
- Gold paperclips
- Polyurethane matt varnish
- Glue
Procedure to make heart:
First prepare the salt dough to make the decoration. Mix together 2 cups of flour and 1 cup of salt. Add 1 cup of water gradually to the mixture until it is stiff but not sticky. Knead the dough for about ten minutes until it is smooth and manageable.
Roll the dough out on a roller or a flat surface with a rolling-pin in 1cm thickness.
Draw or trace out a heart-shaped design. Place the design over the rolled dough and mark the squares with a needle or a pin. Then cut out the heart carefully from the rolled dough. Smoothen and round the edges with a moistened finger. Alternatively you can cut out the design from the rolled dough on your own, with a knife without the help of the design
With a knife carefully deepen the lines of the squares without going too deep so that the squares are not cut off. You can either fill the heart with squares or leave both sides free as in the figure.
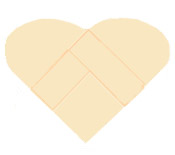
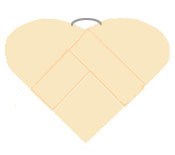
Cut a 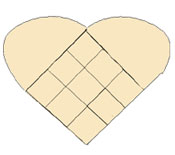 paperclip in half and insert into the top of the heart. Make as many hearts as you need. Allow to dry thoroughly for a few days OR Bake in a warm oven at 120o C/250oF for a short time, but take care not to cook them or they will yellow.
Paint with acrylic emulsion (latex), then paint in the colour of your choice, leaving alternate squares plain. Allow to dry. Apply five coats of varnish. Thread some ribbon through the loop made by the paper clip and tie in a bow. You can hang your hearts from the wall.


Materials:
White bread- ----- 1 slice
White Glue ------ 1 tablespoon
Zip Loc Bag- ------- 2
Acrylic paint
Craft stick
Cold cream (like Ponds)
Remove the crusts from the bread and discard.

Tear bread in to small pieces and place into a plastic bag.

Add 1 Tablespoon Glue into the bag with the bread.

Add several drops of acrylic paint into the bag (add more for a deeper color- less for a lighter color).

Close bag and ‘knead’ (goondhain) the bread, glue and paint together.

Remove from the bag with fingers (put on some cold cream first). It will be sticky, but it will come off after kneading for several minutes in your hand.

Continue to knead the dough until it is off of your hands and the color is solid not mottled.

Place the dough into a clean zip type bag. Let it set for several minutes.
For each petal, you will need a small ball of dough. For each rose the small balls of dough need to be the same size. If you think the size of a garden pea, and continue with each ball of dough, it makes it easier. Flatten the first ball of dough between your fingers until it is almost paper thin

Take the first flattened piece of dough and roll from one side to the other to create the bud or center of the flower. As you roll the petal, slight push top edge of the petal back.

Flatten another piece of dough for the second petal. Place this petal around the bud, slightly pushing back the sides at the top of petal. Pinch slightly to help hold petal in place.

Flatten another piece of dough for the third petal. Place this petal opposite the second petal. Again slightly push dough at top edge of petal, to create the look of a real rose.

Continue to add petals, until the rose is the size you want. When finished adding the petals, cut the bottom of the flower flat, so it will glue on any surface.

---------------------------------------------------------------------
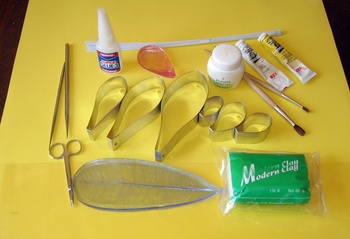
Tools and accessories
|
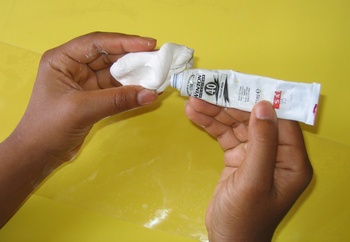
Color the clay
The clay is colored with oil painting.
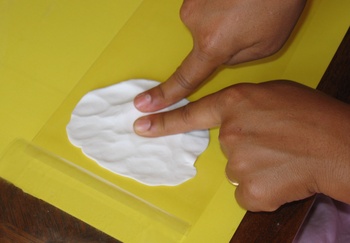
Make a clay stripPut clay between two plastic films ... |
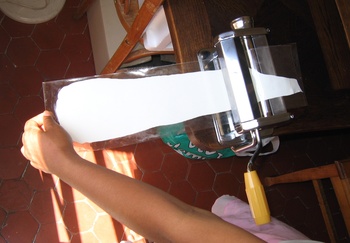
| ... and flatten it between the rolls of the noodle machine. |
OR
Use Rolling Pin

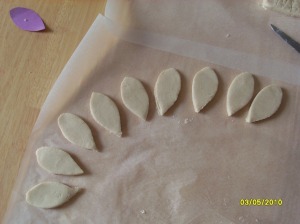
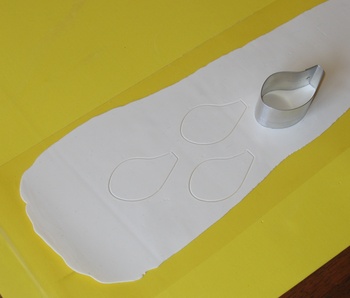
Cut the petalsUse the cutter to cut the petals. |
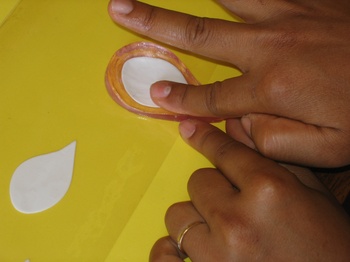
Print the vein on the petals
Press the petals on the resin mold to obtain the veins.
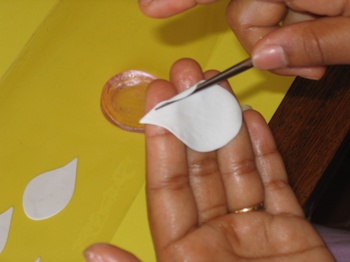
Bend the petals
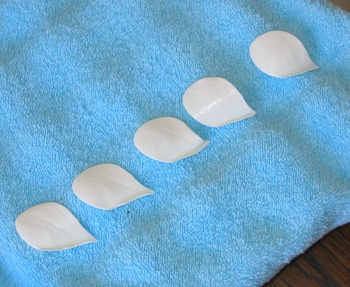
Put the petals to dry
Put the petals on towel. Put the towel on an egg box to give a curved shape to the petals.
Make the stem holding the petals
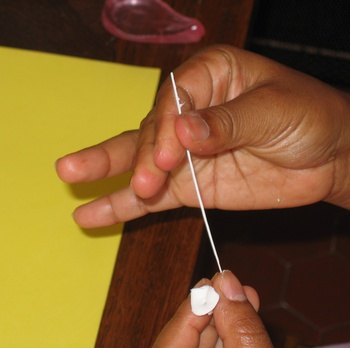
Put clay on a metallic wire ...
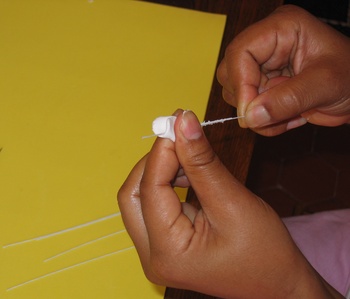
| ... then smooth the clay. |
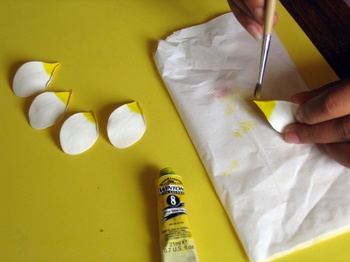
Paint the petals
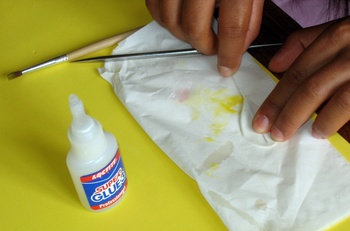
Glue the stem under the petals
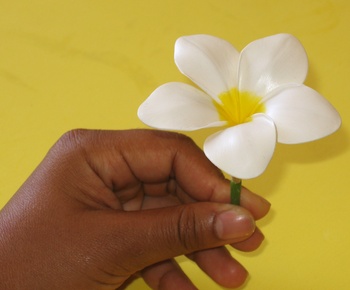
Gather the petals
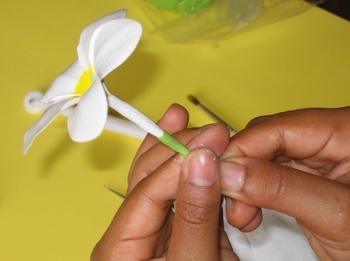
Use Floratape to attach them.
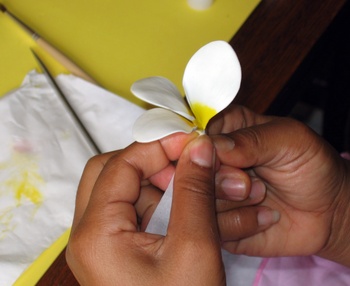
Make the stem of the flower
Cover the metallic wires with clay ...
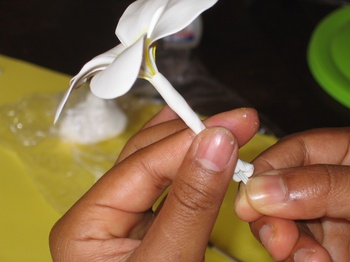
| ... and to finish add a little bit of green clay. |


 \
\